

Utah Xeriscape Soil Preparation That Holds Water
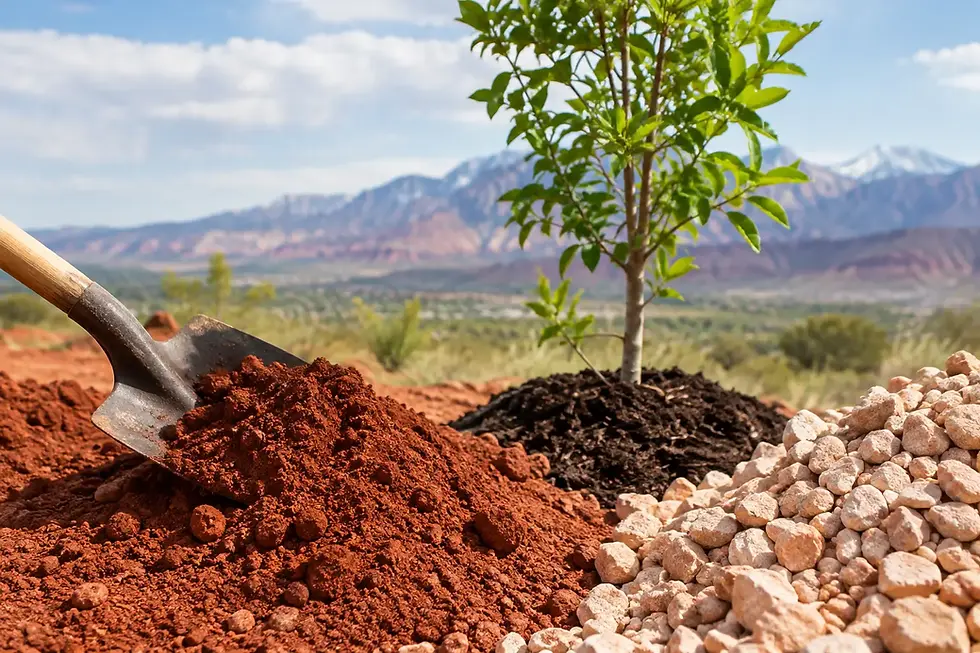
A xeriscape that struggles by July usually did not fail because the plants were wrong. It failed because the ground below them was compacted, shallow, poorly graded, or unable to hold moisture where roots need it. Utah xeriscape soil preparation is the work that prevents that problem before decorative rock, drip tubing, and new plants cover the site.
For commercial landscapes, HOA beds, parking-lot islands, new construction, and large residential yards, soil preparation is not a finish detail. It is the base layer. Compost first. Then irrigation, plants, mulch, and rock have a better chance of doing their jobs.
What Xeriscape Soil Needs in Utah
Xeriscape does not mean filling a bed with rock and hoping drought-tolerant plants survive. A low-water landscape still needs oxygen around roots, stable drainage, and enough organic matter to hold water between irrigation cycles. Utah soils often make that harder. Many sites have dense clay, construction compaction, high pH, rocky fill, or topsoil that was scraped thin during grading.
The goal is balance. Soil needs to drain after a hard irrigation cycle or storm, but it also needs to retain moisture long enough for roots to use it. Straight sand can drain too quickly. Heavy clay can stay tight and shed water across the surface. A quality compost amendment helps create pore space in tight soils and improves water-holding in coarse ground.
That is why spreading material only on top is rarely enough for a new install. Surface dressing has value, but it cannot correct a compacted root zone six inches below grade.
Start With the Site, Not the Plant List
Before ordering materials, walk the site after irrigation or a storm. Look for water sitting in low spots, slopes sending runoff toward sidewalks, and areas where the soil is hard enough that a shovel barely enters. Check where downspouts discharge and where snow piles will melt in spring. These details determine whether you need soil improvement, grade correction, drainage work, or all three.
On a new project, remove construction debris and avoid burying chunks of concrete, asphalt, lumber, or heavy clay clods under a thin layer of topsoil. They will show up later as dead plant pockets and drainage problems. If equipment has driven repeatedly through planting areas, plan on loosening the soil rather than assuming it is ready because it looks level.
For established beds, take a different approach. Do not aggressively till around mature trees and established shrubs where major roots may be close to the surface. Top-dress with compost, renew mulch, and make targeted corrections in open planting zones instead.
Get the Grade Right Before Adding Compost
Compost improves soil, but it is not a substitute for grade. Shape the site so water moves away from buildings and does not collect against curbs, foundations, or hardscape. In a xeriscape bed, small basins around individual plants can be useful because they direct irrigation into the root zone. Broad low areas that stay wet are not.
Finish grades also matter around decorative rock. If the soil settles after installation, rock can migrate, edging can stand proud, and drip emitters can end up above the root zone. Do the bulk soil work first, settle and shape the bed, then install finish materials.
How Much Compost to Apply
For most new xeriscape beds, spread 1 to 2 inches of [fine wood compost](https://www.supersoilusa.com/fine-wood-compost) across the planting area and incorporate it into the top 6 to 8 inches of soil. One inch is often a sensible starting point on ground that already has workable soil structure. Two inches is more appropriate where soil is compacted, low in organic matter, or disturbed by construction.
Do not treat compost as a deeper-is-always-better product. Very heavy applications can create an overly rich layer that behaves differently from the native soil below it. That can affect drainage and encourage roots to stay shallow. The aim is a blended root zone, not a soft pocket sitting over hard ground.
A quick ordering estimate helps crews avoid coming up short. One cubic yard of material covers about 324 square feet at 1 inch deep, or about 162 square feet at 2 inches deep. Measure the bed area, choose the depth, and round up modestly for uneven ground and final grading. Large jobs should also account for access, dump location, and whether separate products need separate loads.
Fine wood compost works well for broad incorporation because it is clean, consistent, and easy to spread. On projects that need both organic matter and a ready-to-install planting blend, a Super Soil blend can reduce mixing time while building a more workable root zone.
Loosen the Root Zone Without Smearing It
The best time to till or cultivate is when the soil is moist enough to break apart but not wet enough to smear. If clay sticks to boots, equipment tires, or tiller tines in thick sheets, wait. Working wet clay can make compaction worse and leave a dense layer that blocks roots and water.
For open new beds, incorporate compost evenly through the planned root zone. A tractor-mounted tiller, skid steer soil conditioner, or smaller tiller can work, depending on job size and access. Make enough passes to blend material through the top 6 to 8 inches, then rake, shape, and lightly firm the surface. Do not compact the bed again by driving loaded equipment across it after preparation.
On heavily compacted sites, loosening may need to happen before compost is spread. Break up the soil first, remove large debris and stones where practical, then blend the amendment through the loosened profile. If the site has a severe drainage limitation, address that design issue before planting. Compost will improve the soil, but it will not solve a buried hardpan or a grade that traps water.
Use Iron Amendments With a Purpose
Many Utah landscapes have alkaline soils. Plants can have trouble accessing iron in high-pH conditions even when iron exists in the soil. The result is often yellowing leaves with greener veins, especially on plants that are less tolerant of alkaline ground.
Ferrozite is an iron-rich amendment that can be used where iron availability is a known concern or where plant performance points to a need. It belongs in the soil-prep conversation, but it should not be used as a guess for every yellow plant. Yellowing can also come from poor drainage, damaged roots, incorrect irrigation, salt buildup, or a plant that simply does not fit the site.
For large commercial installations or recurring plant-health issues, a soil test gives the crew a better basis for amendment rates. It also helps distinguish a nutrient issue from a physical soil problem. Fixing structure and drainage often comes before adding more inputs.
Keep Water in the Root Zone After Planting
Once the soil is prepared, group plants by water needs. Put higher-water plants together and keep low-water shrubs, grasses, and perennials in their own irrigation zones. A xeriscape becomes inefficient when every plant receives the same schedule simply because it shares one valve.
Install drip irrigation after final grade, then test coverage before mulch or rock goes down. Make sure emitters wet the root area rather than the walkway. New plants need regular water while they establish, even if they are marketed as drought tolerant. The difference is that a prepared root zone lets the irrigation interval stretch over time without sending plants into stress.
Mulch is the final moisture-management layer. Organic mulch is a strong choice around trees, shrubs, and many perennial beds because it moderates soil temperature and adds organic matter as it breaks down. Decorative rock is durable and clean around entries, commercial frontage, and high-traffic areas, but it absorbs and reflects heat. Do not pile rock tightly against plant crowns or tree trunks, and keep the soil below it properly prepared because rock does not improve the root zone.
Common Xeriscape Soil Prep Mistakes
The most expensive mistake is installing plants on compacted subsoil, then trying to fix the problem with extra irrigation. That creates weak, shallow roots and higher water use. Another common mistake is putting a thin layer of compost or topsoil over dense clay without blending it in. Water can perch at the boundary between the layers, leaving plants with inconsistent moisture.
Rock-only landscapes can also create trouble. They may reduce weeds in some areas, but they do not automatically reduce maintenance or water demand. Windblown soil, leaf litter, weed seed, and heat still show up. Use rock where it fits the design and maintenance plan, not as a substitute for soil preparation.
Finally, do not skip access planning. Know where a delivery truck can safely dump material, keep the dump zone close to the work area, and schedule soil delivery before finished curbs, irrigation components, and plant material make movement difficult. Bulk materials save labor when the job is sequenced correctly.
A good Utah xeriscape should look intentional in August, not just acceptable in April. Build the soil while the bed is open, give roots room to work, and let every gallon of irrigation do more. For bulk compost, Super Soil, Ferrozite, and jobsite delivery planning, call SuperSoil USA at 435-896-5970 before the plants and rock arrive.


Comments